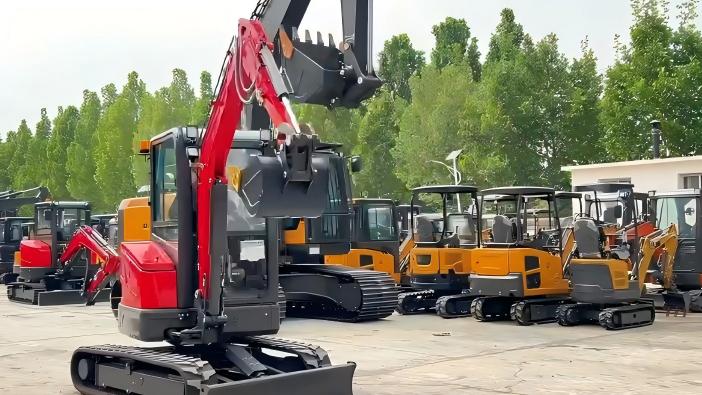
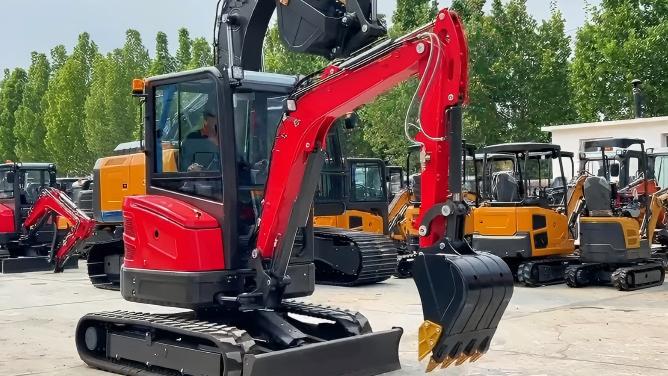
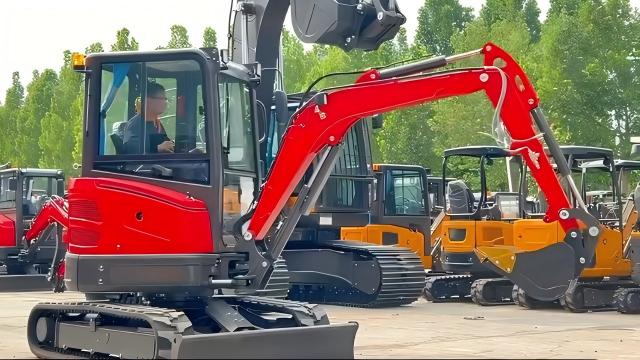
Mini excavators are compact powerhouses, indispensable for a wide range of tasks, from trenching and landscaping to demolition and utility work. Their versatility and ability to access tight spaces make them a staple on many job sites. However, like any piece of heavy machinery, mini excavators require diligent and consistent maintenance to ensure optimal performance, extend their lifespan, and, most importantly, guarantee safe operation. Neglecting maintenance can lead to costly breakdowns, reduced efficiency, and potential safety hazards.
This comprehensive guide outlines a step-by-step approach to maintaining your mini excavator, covering daily checks, routine service, and essential long-term care practices. Following these guidelines will not only keep your machine running smoothly but also protect your investment.
The Importance of Regular Maintenance
Before diving into the "how-to," it's crucial to understand "why." Regular maintenance offers several significant benefits:
Extended Lifespan: Proactive care prevents wear and tear from escalating into major damage, significantly prolonging the operational life of your excavator.
Optimal Performance: A well-maintained machine operates at peak efficiency, delivering consistent power, precise control, and reliable digging performance.
Enhanced Safety: Worn parts, fluid leaks, or malfunctioning systems can pose serious safety risks. Regular checks identify and address these issues before they lead to accidents.
Reduced Downtime and Repair Costs: Identifying small issues early on prevents them from becoming large, expensive problems, minimizing unexpected downtime and costly repairs.
Higher Resale Value: A machine with a documented maintenance history and in good working condition will command a higher resale value.
Fuel Efficiency: Properly maintained engines and hydraulic systems operate more efficiently, potentially reducing fuel consumption.
Maintenance Schedule Overview
Mini excavator maintenance typically falls into three categories:
Daily (Pre-Operational) Checks: Quick inspections before each use.
Routine (Scheduled) Maintenance: Based on operating hours (e.g., 50, 250, 500, 1000 hours).
Long-Term/Seasonal Maintenance: Less frequent, often tied to specific seasons or extended storage.
Always refer to your specific mini excavator's Operator's Manual for precise recommendations, as intervals and specifications can vary between manufacturers and models.
Step-by-Step Maintenance Guide
Daily (Pre-Operational) Checks – Before Each Use
These quick checks take only a few minutes but are vital for catching immediate issues.
Walk-Around Inspection:
Visual Damage: Look for any new dents, cracks, leaks (oil, hydraulic fluid, coolant), loose bolts, or signs of wear on components.
Tracks/Tires: Inspect tracks for excessive wear, damage, proper tension (for rubber tracks), or tires for correct inflation and damage.
Hoses and Lines: Check for cuts, cracks, abrasions, or bulges in hydraulic hoses and fuel lines.
Cylinders and Rods: Look for leaks around cylinder seals and ensure chrome rods are clean and free of pitting or scoring.
Electrical Wiring: Check for frayed wires or loose connections.
Attachments: Verify attachments are securely pinned and free from damage.
Fluid Levels:
Engine Oil: Check the dipstick. Top up if necessary.
Hydraulic Fluid: Check the sight gauge or dipstick. Ensure it's within the operating range.
Coolant: Check the level in the overflow reservoir.
Fuel: Ensure adequate fuel for the planned work.
Grease Points: Identify and lubricate daily grease points (often around pins and bushings of the boom, arm, bucket, and swing mechanisms). A few pumps of grease are usually sufficient.
Cab and Controls:
Cleanliness: Keep the cab clean to prevent debris from interfering with controls.
Visibility: Ensure windows, mirrors, and lights are clean and functional.
Seatbelt: Check for proper function and wear.
Controls: Briefly test all controls (joysticks, pedals) for smooth operation and responsiveness.
Gauges and Warning Lights: Confirm all gauges are working and no warning lights are illuminated upon startup.
Safety Features: Test the horn, backup alarm, and all exterior lights.
Routine (Scheduled) Maintenance – Based on Operating Hours
These intervals are crucial and typically require more detailed inspection and replacement of fluids/filters.
Every 50 Hours (or Weekly):
Repeat all Daily Checks.
Check Track Tension: Adjust if too loose or too tight (critical for track life).
Inspect Fan Belt Tension: Adjust if loose.
Inspect Battery Terminals: Clean if corroded and ensure connections are tight.
Check Air Filter Indicator: If equipped, follow the indicator's recommendation for cleaning or replacing
Every 250 Hours (or Monthly):
Replace Engine Oil and Oil Filter: Use the recommended oil type and filter. This is critical for engine longevity.
Inspect Fuel Filter/Water Separator: Drain water and sediment. Replace if necessary, especially in dusty conditions or with suspect fuel.
Check Air Filter: Inspect and clean/replace if heavily contaminated (more frequently in dusty environments).
Inspect Final Drive Oil Level: Check the oil level in the final drives (track motors).
Inspect Swing Bearing Grease: Ensure adequate lubrication for the swing bearing.
Check Hydraulic Oil Level and Condition: Look for discoloration or unusual smell, which might indicate contamination or overheating.
Inspect Undercarriage: Check for loose bolts, excessive wear on idlers, sprockets, and rollers.
Every 500 Hours (or Quarterly/Bi-Annually):
Replace Fuel Filter: Even if it looked okay at 250 hours, it's good practice to replace it now.
Replace Outer Air Filter Element: If your machine has a two-stage air filter, replace the outer element.
Change Final Drive Oil: Drain and refill the oil in the final drives.
Check/Adjust Valve Clearances (if applicable): This is often a job for a qualified technician.
Inspect Engine Mounts: Check for cracks or excessive wear.
Inspect Hydraulic Oil and Filter: Many manufacturers recommend hydraulic filter replacement at 500 hours, and a full hydraulic fluid change at 1000-2000 hours, but always check your manual.
Every 1000 Hours (or Annually):
Replace Inner Air Filter Element: If your machine has a two-stage air filter.
Change Hydraulic System Filter(s): Replace all hydraulic filters.
Change Hydraulic Fluid (if recommended): Some manufacturers recommend a full hydraulic fluid change at this interval, others at 2000 hours. Always use the specified fluid.
Check/Adjust Track Motor Reduction Gears Oil Level.
Check Cooling System: Inspect hoses, clamps, and radiator fins for damage or blockage. Clean radiator and oil cooler fins.
Inspect All Belts: Check for cracks or fraying.
Inspect Bearings and Bushings: Look for excessive play in pins and bushings (boom, arm, bucket, swing).
Review Electrical System: Check battery charge, alternator output, and all wiring for integrity.
Service Fuel Injectors (if necessary): Depending on fuel quality and usage.
Long-Term / Seasonal Maintenance
Storage (Winterization/Extended Downtime):
Clean Thoroughly: Wash the machine to remove dirt, mud, and debris.
Full Fuel Tank: Fill the fuel tank to prevent condensation.
Add Fuel Stabilizer: If storing for more than a month.
Change Oil and Filters: Perform a full oil and filter change.
Grease All Points: Ensure all pivot points are well-lubricated.
Battery Care: Disconnect the battery and store it in a cool, dry place, or connect it to a trickle charger.
Protect Cylinders: Fully extend and then retract hydraulic cylinders slightly to prevent moisture exposure on chrome rods.
Cover Exhaust/Air Intake: Prevent pests from nesting.
Elevate Tracks/Tires: If possible, lift the tracks/tires off the ground to prevent flat spots or prolonged stress.
Pre-Season Preparation: Before bringing a stored machine back into service, repeat many of the daily and 50-hour checks.
Essential Tips for Effective Maintenance
Read the Operator's Manual: This cannot be stressed enough. It contains specific information for your model.
Use Genuine Parts and Recommended Fluids: While aftermarket parts might seem cheaper, genuine parts are designed for your machine and ensure compatibility and performance. Always use the manufacturer-recommended type and grade of oil, grease, and fluids.
Keep Records: Maintain a detailed log of all maintenance performed, including dates, hours, and parts replaced. This helps track service intervals, identify recurring issues, and proves maintenance history for resale.
Cleanliness: A clean machine is easier to inspect and maintain. Regularly remove dirt, mud, and debris, especially from around engine components, hydraulic lines, and the undercarriage.
Listen and Observe: Pay attention to unusual noises, vibrations, smells, or changes in performance. These are often the first indicators of a problem.
Safety First: Always follow lockout/tagout procedures (LOTO) when performing maintenance. Ensure the machine is turned off, cooled down, and properly secured to prevent accidental movement. Wear appropriate PPE (gloves, eye protection).
Conclusion
A mini excavator is a significant investment, and its longevity and reliable performance depend directly on consistent and thorough maintenance. By meticulously following this step-by-step guide, adhering to manufacturer recommendations, and developing a disciplined maintenance routine, you can significantly reduce the risk of costly breakdowns, enhance safety on the job site, and ensure your mini excavator remains a productive and valuable asset for many years to come. Proactive care is not just a cost; it's an essential investment in your equipment's future.
Post time:Sep-25-2020


